
What Is An Immersive Room?
An Immersive Sensory Room is a specially designed space that engages the senses through light, sound and visuals with projections and interactive elements. Immersive rooms can be utilised across schools, therapy centres, hospitals, community hubs and care facilities where multisensory engagement enhances well-being and learning outcomes.
Planning an immersive installation involves many details that can easily be overlooked. That’s why our team of experts are on-hand to advise and help you make the most of your immersive experiences. Not only is it important to ensure safety and accessibility for users, but when it comes to immersive rooms, careful planning also maximises the impact of projected visuals, sounds and interactive elements.
In this blog, we’ll be taking you through our key elements to consider in your Immersive Sensory Room Design.
Optimal Room Dimensions
One of the most important things to think about when setting up an Immersive Sensory Room is space.
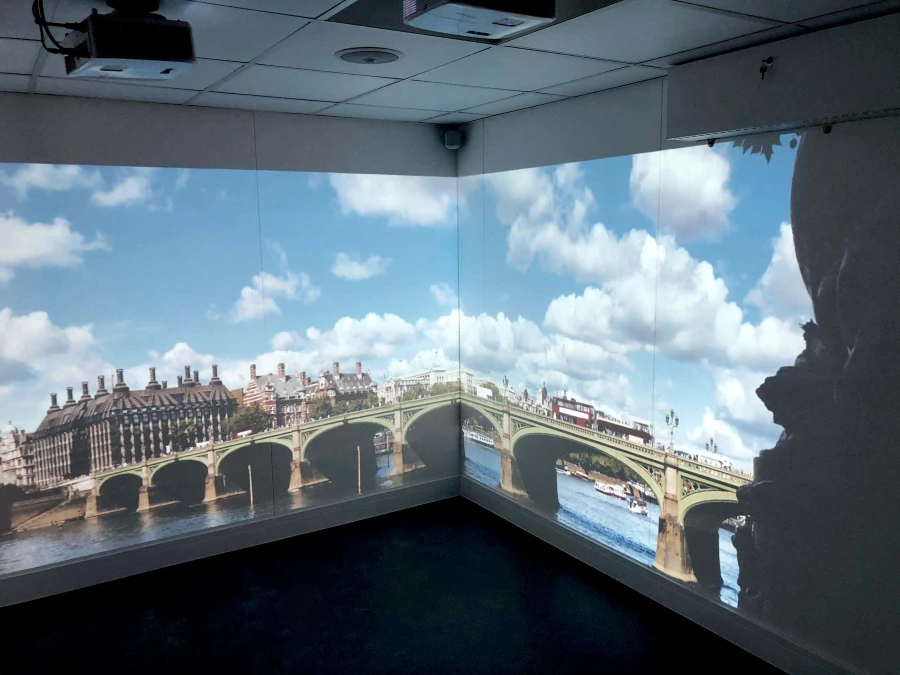
Ideally, we recommend a 3.5m x 3.5m square area for the projected space – big enough for the visuals and interactive elements to really shine.
A square shaped space works well because it gives the projections room to spread out evenly and makes it easier for users to manoeuvre around without obstructions. If you’re planning for more than one person to use the room at a time, the square layout helps everyone see the projections clearly and enjoy the experience together. Leaving enough space in the middle also gives room for flexible seating or activities without getting in the way of the visuals.
Visual Clarity & Obstruction-Free Design
For an Immersive Sensory Room, clear sightlines are everything. You want to make sure there are no visual obstructions that block the projections or distract users.
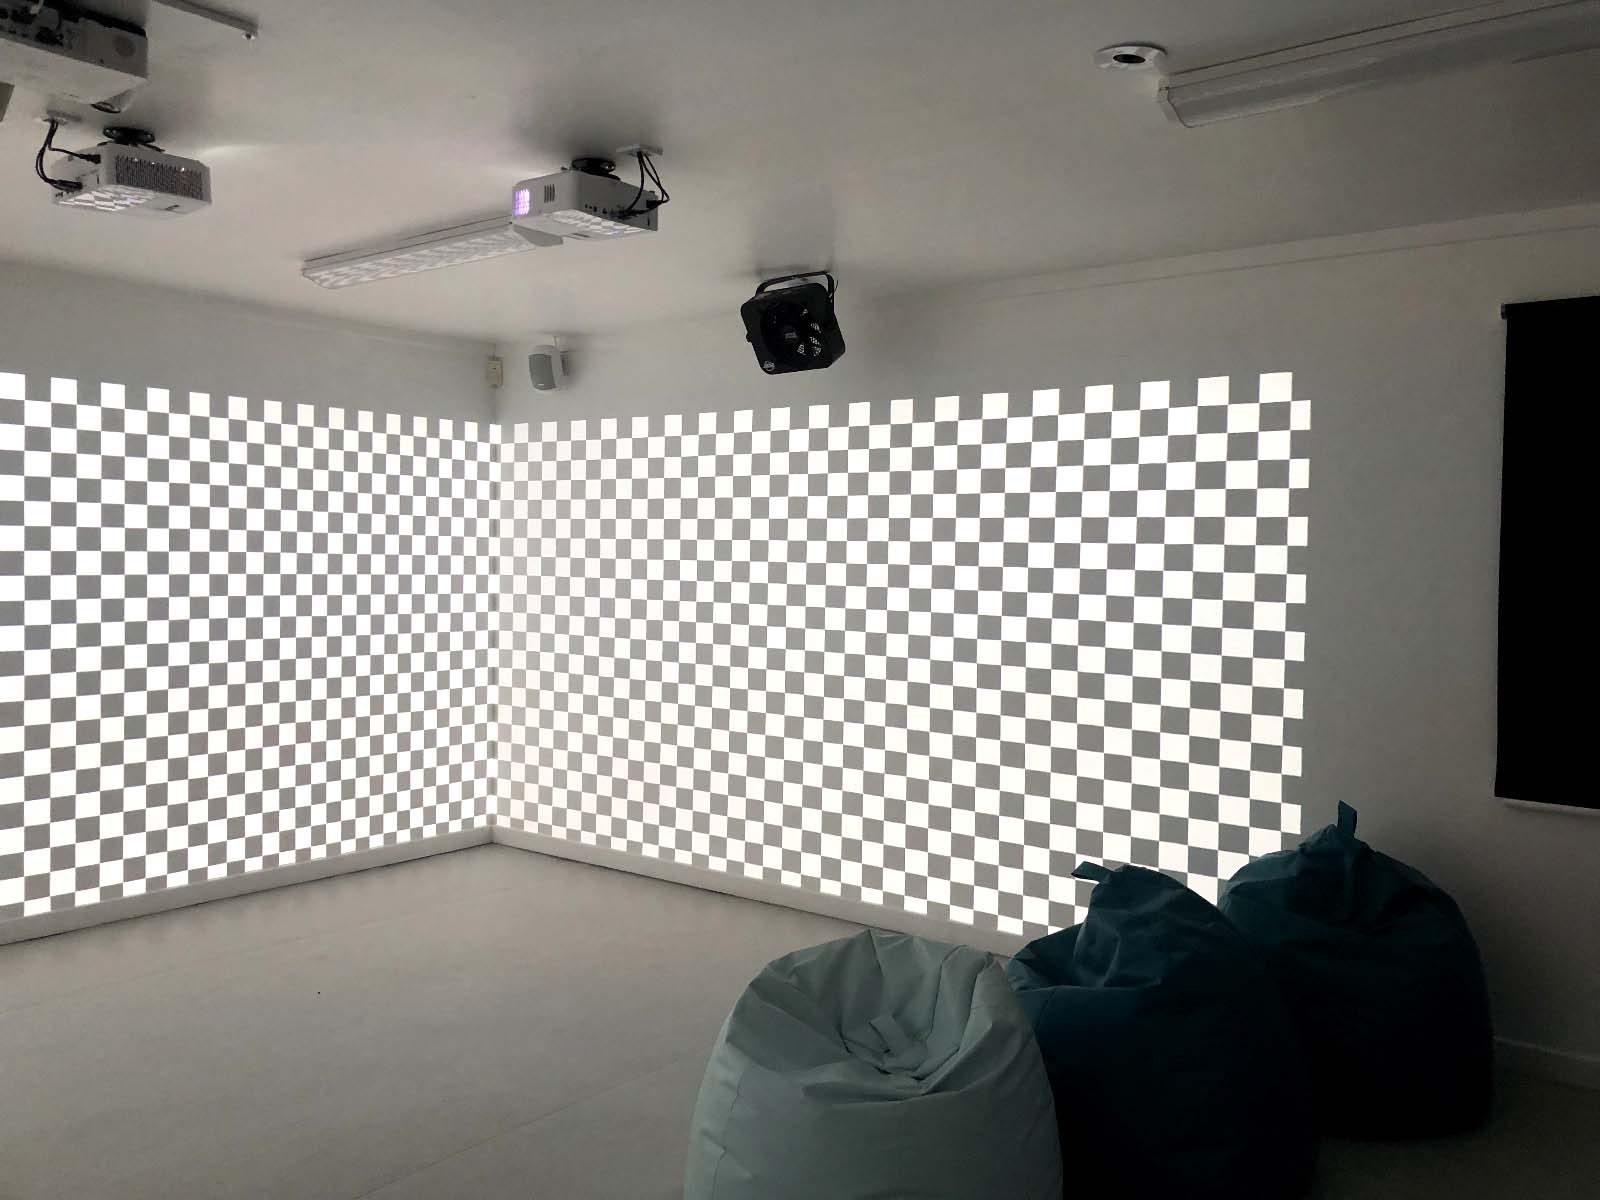
Un-obstructed walls and floors are key to keeping the visuals crisp and immersive. Even small items like furniture, shelves or built-in fixtures can interfere with how the projections are seen and how people move around the space.
When planning your layout, think about where furniture and equipment will go so they don’t get in the way. Keeping the area open not only makes the visuals look better but also helps users feel more comfortable and engaged in the experience.
Wall Preparation & Painting
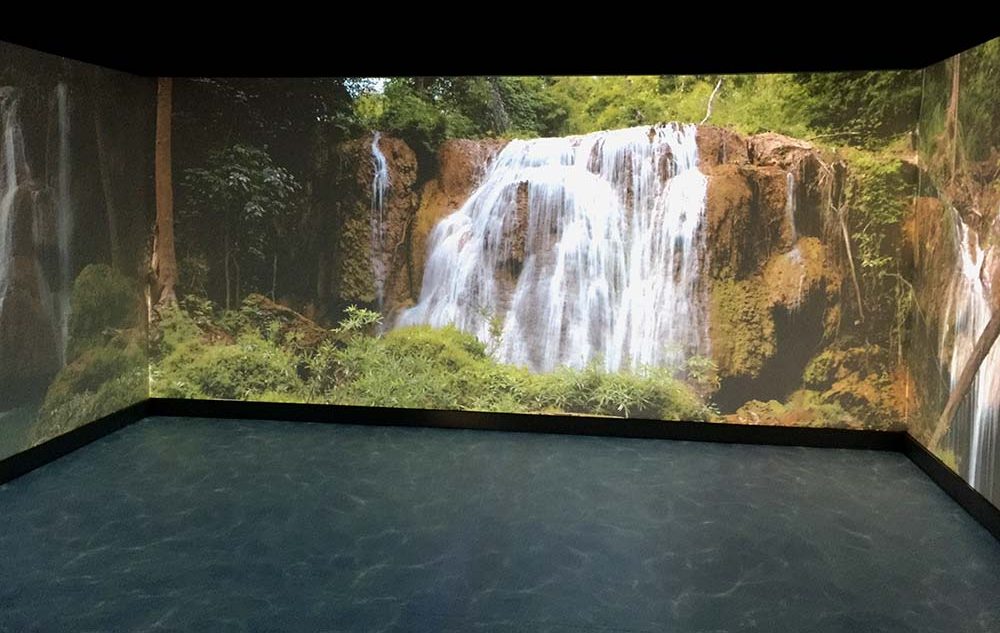
The walls of your Immersive Sensory Room play a big role in how your projections look. Start with a clean, white base. Painting the walls white before installation gives your visuals a bright, clear canvas.
After the room is set up, adding a black band above the projected image can help define the projection area and reduce any unwanted light spill. Taking the time to prep and paint the walls properly may seem simple, but it makes a huge difference in the overall experience.
Ceiling Design Considerations
Even if there are no projections on the ceiling, painting the ceiling black above the projected area helps prevent light reflections and keeps the main visuals looking sharp and immersive.
It’s also best to avoid ceiling-mounted hoist systems or other obstacles that could interfere with projections or movement in the room. Leaving space in the centre of the ceiling for hardware, like projectors or speakers, makes installation easier and keeps everything running smoothly.
By planning your ceiling carefully, you’ll create a cleaner, more immersive environment that keeps the focus on the experience.
Bespoke Hardware Cupboard
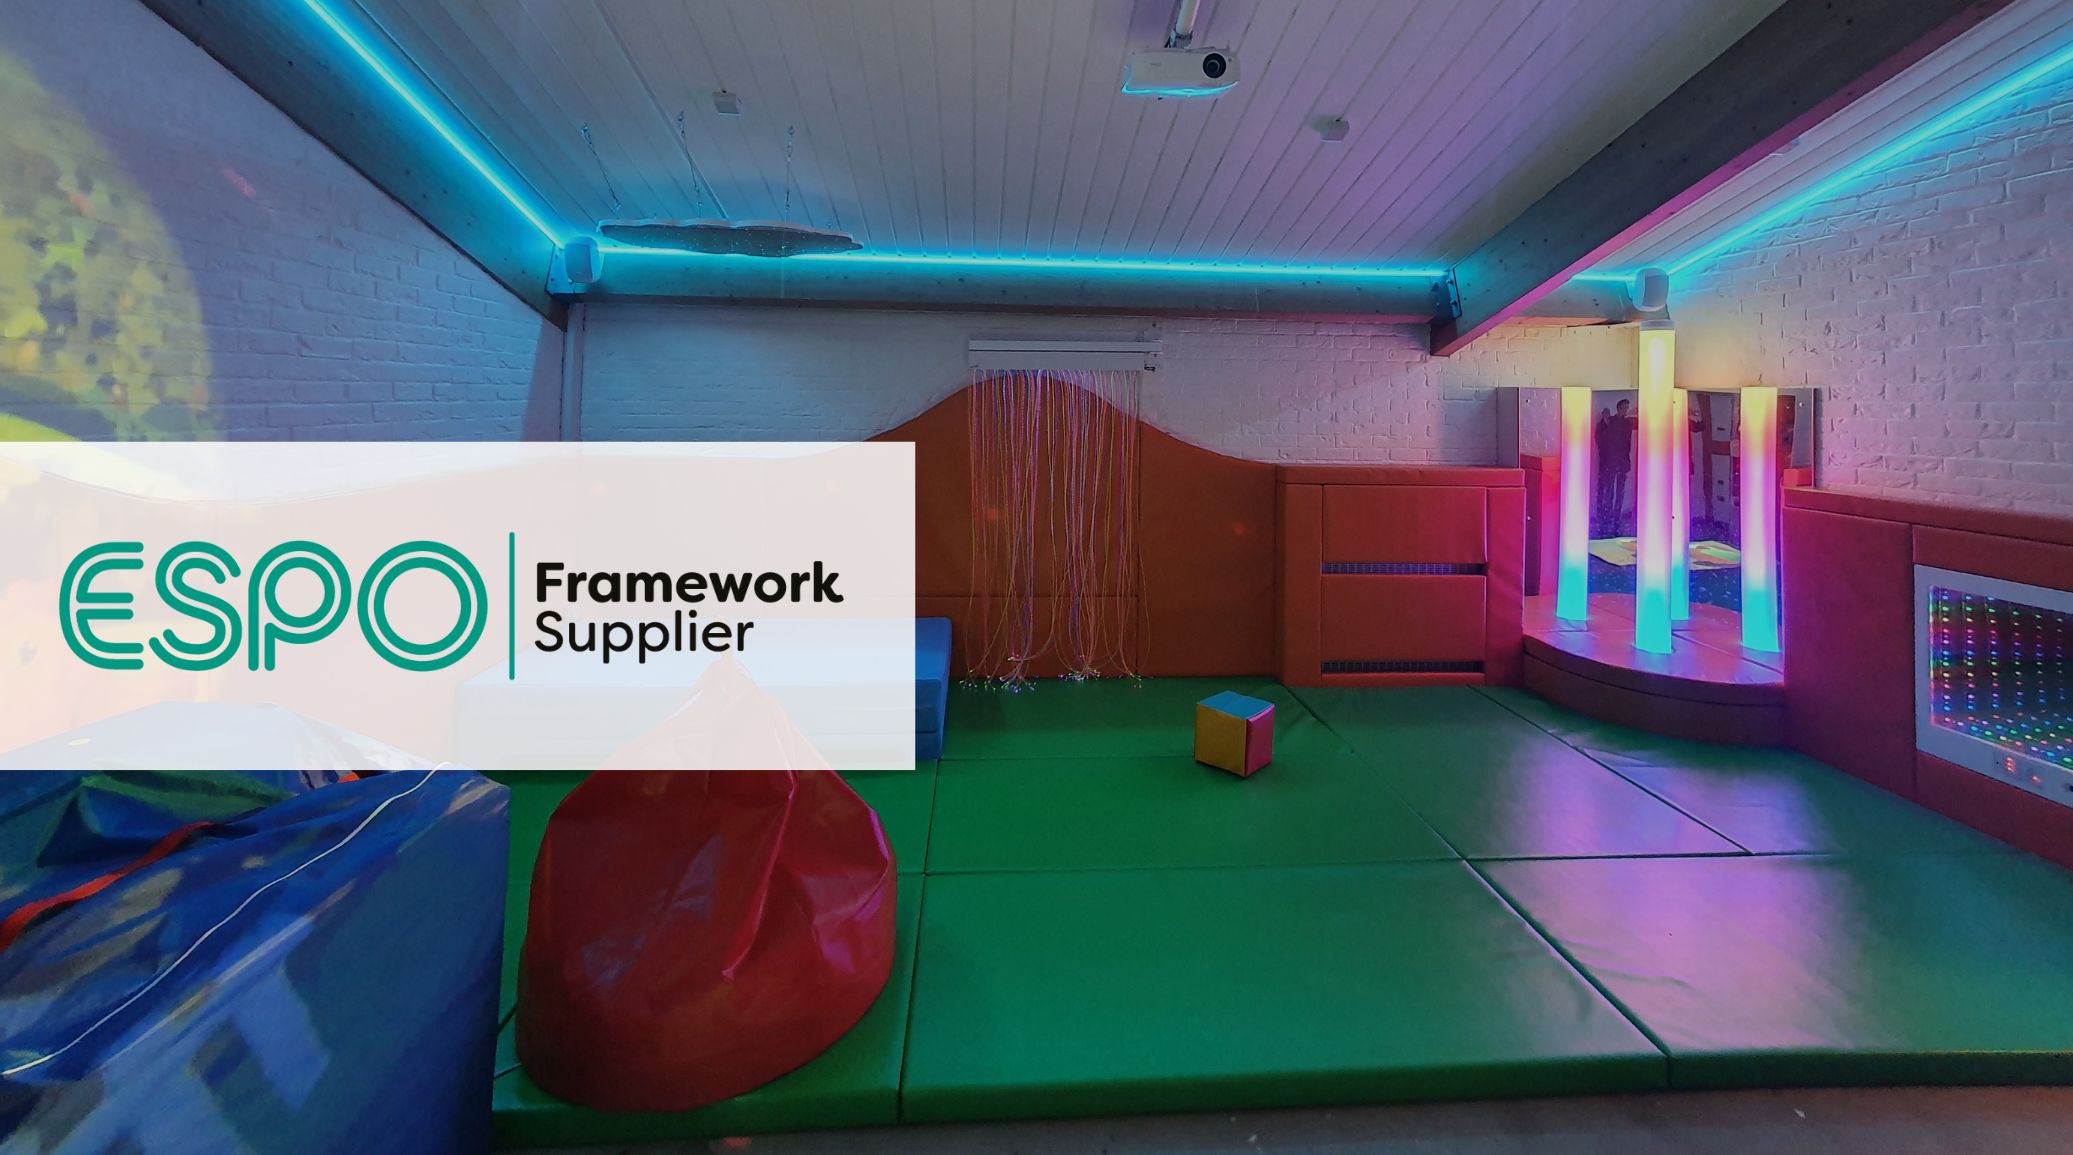
Every Immersive Sensory Room has its tech – projectors, speakers, cables and other equipment. A dedicated hardware cupboard keeps all of this out of sight, making the room feel clean and clutter-free.
Having a custom cupboard also protects your equipment from a safety perspective such as accidental bumps or curious hands, while keeping it easily accessible for maintenance or updates.
Seating & Floor Considerations
Flexible seating is key in an Immersive Sensory Room. Movable chairs, cushions or beanbags let you adapt the space for different activities and users, making the room more comfortable and inclusive.
The floor also matters, especially if you’re projecting onto it. Light, plain flooring works best because it lets the visuals stand out and keeps the focus on the experience. By thinking about seating and flooring together, you can create a room that’s comfortable, safe and visually immersive for all users.
Summary
Now we’ve discussed the key considerations in detail, let’s do a summary:
- Ideally 3.5 x 3.5m square area for the projected space.
- Ensure there are no visual obstructions.
- White painted walls and black ceiling prior to installation.
- Black band painted above the projected image following installation.
- Ideally no ceiling-mounted hoist system and or other features.
- Ensure there is space in the centre of the ceiling for hardware.
- Provide flexible seating options.
- Light & plain flooring (if projecting onto)
From the room size and wall prep to the ceiling, flooring, seating and hardware, every detail in an Immersive Sensory Room Design plays a part in creating a seamless experience for all.
Here at Sensory Technology, we pride ourselves on having an in-house expert team of sales and design, and installation engineers with years of experience crafting immersive rooms across all types of settings.
As no room is the same, our bespoke designs and quotations are tailored to each individual space to ensure the best experience possible. If you’re looking to create an immersive sensory room, contact our sales and design team today and we can discuss your requirements.

